Hey there, fellow magic enthusiasts and curious crafters! Are you ready to unleash your inner wizard (or witch, no judgment here) and build a magical box that'll leave your friends and family in awe?
I'm talking about a real working magic box, not just a fancy wooden container. We're going to create a box that seems to defy the laws of physics and perform all sorts of mystical feats. Think disappearing objects, secret compartments, and even a hidden message board.
Don't worry, this isn't a Hogwarts-level project. We'll use simple woodworking techniques, a bit of creativity, and a sprinkle of magic dust (optional, but highly recommended). Let's get started on our grand adventure!
### Before You Begin: Gathering Your Magical Tools
First things first, we need to assemble our magic box toolbox. You won't need a cauldron or a crystal ball (though, if you have them, feel free to use them). Here's what we'll be using:
Wood: Choose a type of wood that's sturdy and easy to work with. Pine, oak, or even plywood will do the trick. The size of the box will depend on your project, but a good starting point is 8 inches by 8 inches by 6 inches.
Woodworking tools: We'll need the usual suspects: saw, drill, screwdriver, sandpaper, and a hammer. You might also want to use a router for creating smooth edges and a jigsaw for cutting intricate shapes.
Hinges: These are essential for the box to open and close. Choose sturdy hinges that match the style of your box. Think about whether you want it to open from the top, side, or even a secret flap!
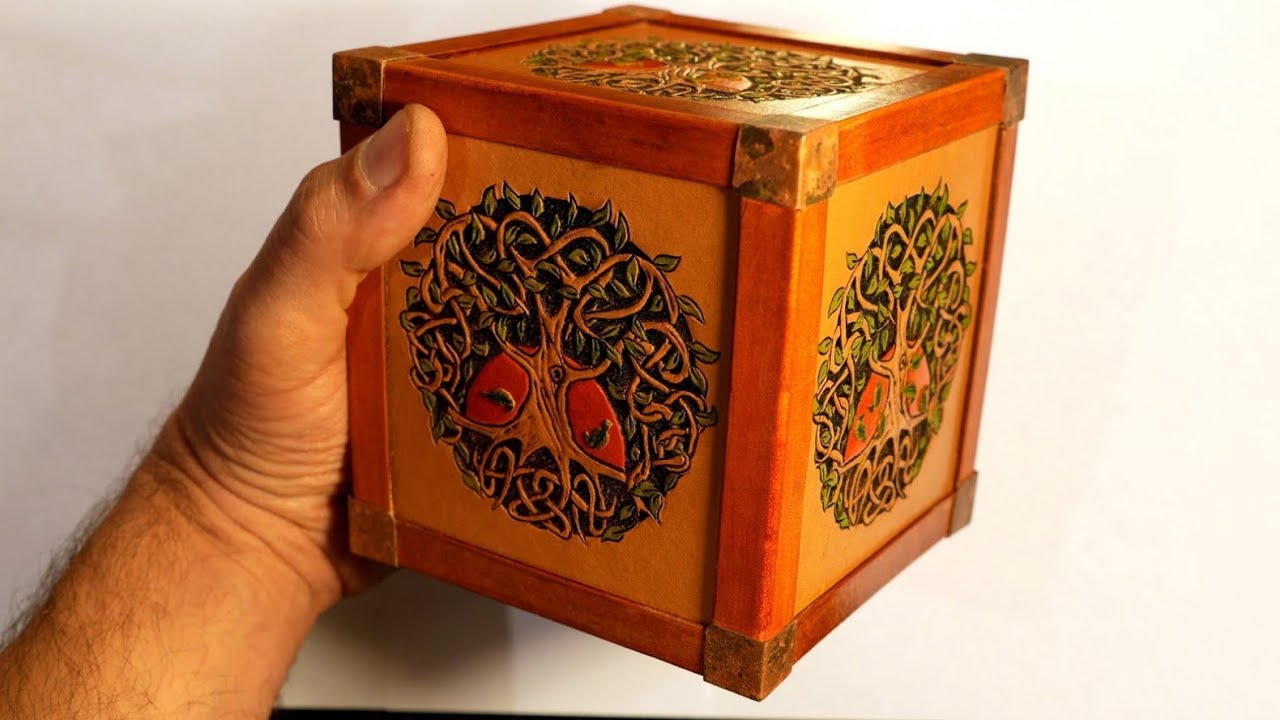
Finishing touches: This is where your creativity really shines. You can paint, stain, or decoupage the box to give it a magical look. Add embellishments like knobs, handles, or even an intricate carving for extra oomph.
Pro Tip: Don't be afraid to experiment! The beauty of DIY projects is that you can personalize them to your heart's content. Maybe you want a box with a hidden compartment for your magical potions or a secret drawer for your favorite spells. The possibilities are endless!
### The Construction: Building Your Box of Wonders
Now, let's dive into the actual building process. Follow these steps to build the foundation of your magic box:
1. Cut your wood: Measure and cut the wood for the base, sides, and top of your box. Make sure the sides are perfectly aligned for a strong structure.
2. Assemble the box: Use wood glue and clamps to secure the sides to the base. You can use nails or screws for extra stability.
3. Attach the top: Now, use hinges to attach the top of the box. Make sure they're securely placed and the lid opens and closes smoothly.
4. Add secret compartments: This is where things start getting interesting. Think about what kind of magic you want to perform with your box. Do you want a secret compartment for a disappearing act? Maybe a hidden compartment with a sliding drawer for your favorite trinkets?
Pro Tip: For a hidden compartment, you can create a false bottom or a section that seamlessly blends into the rest of the box. You can also use a magnetic latch to keep the compartment closed.
### The Magic Touch: Making Your Box Unforgettable
We've built the foundation of our magic box. Now, let's turn it into a real masterpiece! Here's how to add that magical touch:
1. Painting and staining: Choose a color scheme that reflects your magic box's theme. You can paint it with shimmering colors, use dark stains for a mystical look, or even create a weathered finish for an antique feel.
2. Adding embellishments: This is where your creativity truly comes to life. You can use brass or silver knobs for a touch of elegance. Maybe you want to add a painted design on the lid or even an engraved message.
3. Making it work: Remember those secret compartments we created? Now's the time to make them work! Use a hidden lever or a disguised switch to release the compartments. You can also use magnets, pulleys, and other simple mechanisms to create hidden compartments.
Pro Tip: If you're feeling ambitious, you can create a hidden message board inside the box. Simply carve a small section of the box bottom and attach a thin piece of paper with a secret message.
### Conjuring Up Your Magic: The Big Reveal
You've built your magical box, added the finishing touches, and created your secret mechanisms. Now comes the most exciting part - unleashing its magical potential! Here are some ideas:
Disappearing objects: Place an object in the secret compartment and "magically" make it disappear when you open the box.
Secret compartments: Use hidden compartments to store your most prized possessions or even create a hidden message board for secret messages.
Hidden lever: This can be used to release a hidden compartment, reveal a message, or even trigger a small light effect inside the box.
Hidden messages: Use a secret code, a hidden message board, or even a hidden compartment to reveal a secret message for your friends and family.
Pro Tip: Don't be afraid to get creative! The possibilities for magical effects are endless. Use your imagination and have fun with it!
### The Magic Is Real: A Final Word on Our DIY Magic Box
Building a DIY magic box is an amazing way to tap into your creative side and bring a touch of wonder to your life. It's a fun project for people of all ages and skill levels. The most important thing is to have fun with it and let your imagination run wild. So, gather your materials, grab your tools, and unleash the magic within! Remember, the magic is real, and you are the creator. Happy building!


No comments:
Post a Comment
Note: Only a member of this blog may post a comment.