A well-crafted wooden gun box is more than just storage; it is a testament to craftsmanship and a protector of treasured firearms. This comprehensive guide will walk you through the process of building a gun box with dividers, ensuring your firearms are safely stored and organized.
I. Materials and Tools
Materials:
Wood: Choose a durable hardwood like oak, walnut, or maple for longevity and aesthetic appeal.
Base: Consider a 1-inch thick board for the base and sides.
Dividers: Use a thinner board, such as 3/4-inch thick, for the dividers.
Lid: Use a 1/2-inch thick board for the lid.
Hardware:
Hinges: Heavy-duty hinges are recommended for a secure lid.
Latch: A secure latch, preferably with a lock, is crucial for security.
Screws: Use wood screws of appropriate length to assemble the box.
Finishing Supplies: Sandpaper, wood filler, stain, paint, and polyurethane finish.
Foam or Fabric Lining: This adds cushioning and protection for your firearms.
Tools:
Table Saw: Used for cutting the wood to size.
Circular Saw: Optional for cutting larger pieces and providing flexibility.
Miter Saw: Ensures precise cuts for the box's corners.
Router: Used for creating decorative edges and chamfered corners.
Drill: Necessary for drilling pilot holes for screws and hinges.
Clamps: To secure the wood while gluing and assembling.
Measuring Tape and Pencil: For marking and measuring the wood.
Safety Glasses and Hearing Protection: Essential for eye and ear protection.
II. Planning and Design
1. Determine Dimensions: Measure the firearms that will be stored in the box to determine the necessary length, width, and height. Allow for some extra space for padding and comfort.
2. Choose Design: Consider a simple rectangular design with a flat lid for easy access. You can also incorporate decorative elements like rounded edges or inset panels.
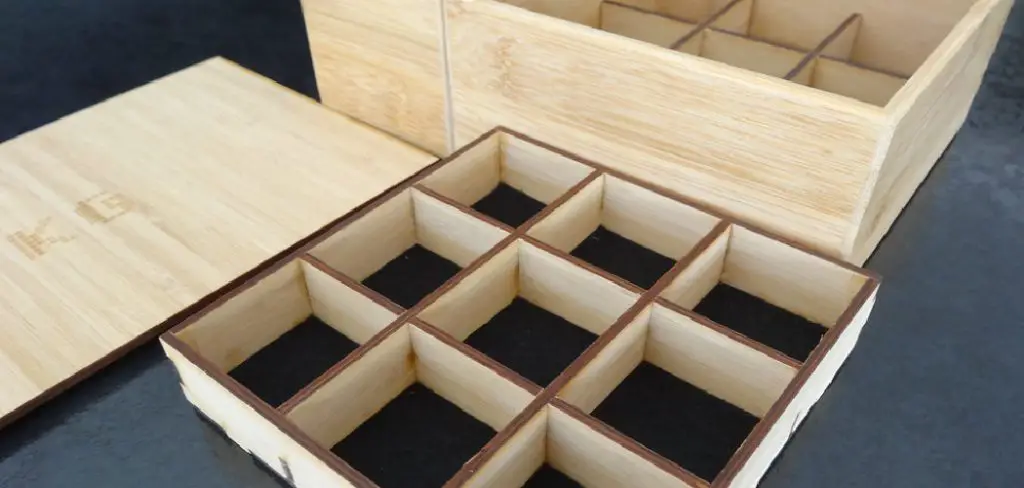
3. Plan Divider Layout: Sketch out the divider placement to maximize space and separate different firearm types. Ensure the dividers are sturdy and provide enough space between firearms.
III. Cutting the Wood
1. Base and Sides: Using the measured dimensions, cut the base and side panels to size. Make sure all cuts are precise and square.
2. Dividers: Cut the dividers to length and width according to your design. Mark the divider placement on the base panel for accurate positioning.
3. Lid: Cut the lid slightly larger than the base to allow for a slight overhang. This will create a flush fit when the lid is closed.
IV. Assembly
1. Gluing and Clamping: Apply wood glue to the edges of the base and sides. Carefully clamp them together, ensuring they are square and level. Allow the glue to dry completely before proceeding.
2. Divider Installation: Mark and drill pilot holes for the dividers, using a countersinking drill bit to create a recessed hole for screw heads. Attach the dividers to the base using wood screws.
3. Lid Attachment: Attach the hinges to the lid and box. Ensure they are positioned symmetrically and aligned properly.
4. Latch Installation: Drill a hole for the latch and attach it to the box. Install the latch plate on the lid.
V. Finishing
1. Sanding: Sand the entire box with progressively finer sandpaper to smooth out any rough edges and create a smooth surface.
2. Wood Filling: If necessary, fill any imperfections or gaps with wood filler and allow it to dry completely. Sand again after the filler has dried.
3. Finishing: Apply a stain or paint to the box, following the manufacturer's instructions. Apply a coat of polyurethane sealant for protection and durability.
VI. Adding a Foam or Fabric Lining
1. Foam: Cut pieces of foam to fit inside the box and around the dividers. Use contact adhesive to secure the foam to the box.
2. Fabric: Cut fabric slightly larger than the base and sides of the box. Secure the fabric with staples or glue around the perimeter of the box.
VII. Customization and Personalization
Engraving: Add a personal touch by engraving your initials or a decorative design on the box.
Hardware: Choose decorative hinges, latches, and handles to enhance the aesthetic appeal.
Inlay: Use wood inlays or other materials to create intricate patterns or designs on the box.
VIII. Safety Considerations
Use proper safety gear: Wear safety glasses and hearing protection when using power tools.
Handle tools with care: Always follow the manufacturer's instructions and take precautions to avoid accidents.
Avoid over-tightening screws: Over-tightening screws can cause the wood to split.
IX. Conclusion
Crafting a wooden gun box with dividers is a rewarding project that allows you to create a secure and organized storage solution for your firearms. By following these steps and utilizing the provided tips, you can build a beautiful and functional gun box that will protect your firearms for years to come. Remember to prioritize safety and take your time throughout the process to achieve a quality final product.


No comments:
Post a Comment
Note: Only a member of this blog may post a comment.